Table of Contents
- Prerequisites
- Step 1: Download HTTP Custom App
- Step 2: Launch HTTP Custom App
- Step 3: Configure SSH Websocket Server
- Step 4: Payload and Proxy Configuration (Optional)
- Step 5: Payload Configuration
- Step 6: Proxy Configuration (Optional)
- Step 7: Save Configuration
- Step 8: Connect to VPN
- FAQs
Prerequisites
Before we begin, ensure that you have already set up an SSH Websocket server. If not, you can refer to our guide or watch a video tutorial to create one.
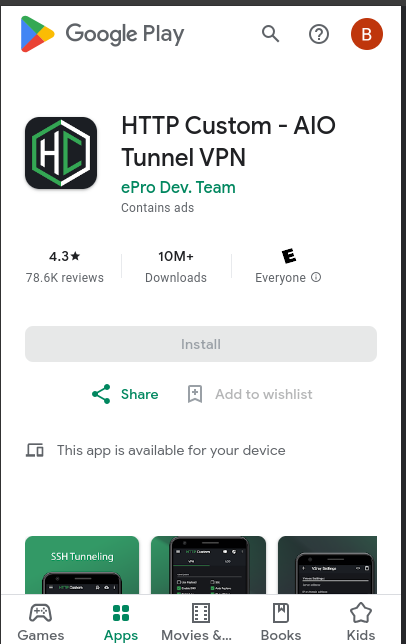
Step 1: Download HTTP Custom App
- Open the Google Play Store on your Android device.
- Search for “HTTP Custom” in the search bar.
- Locate the HTTP Custom VPN app in the search results.
- Download and install the app on your device.
Step 2: Launch HTTP Custom App
- Once the app is installed, open it from your app drawer.
- You will be directed to the home screen of the HTTP Custom app.
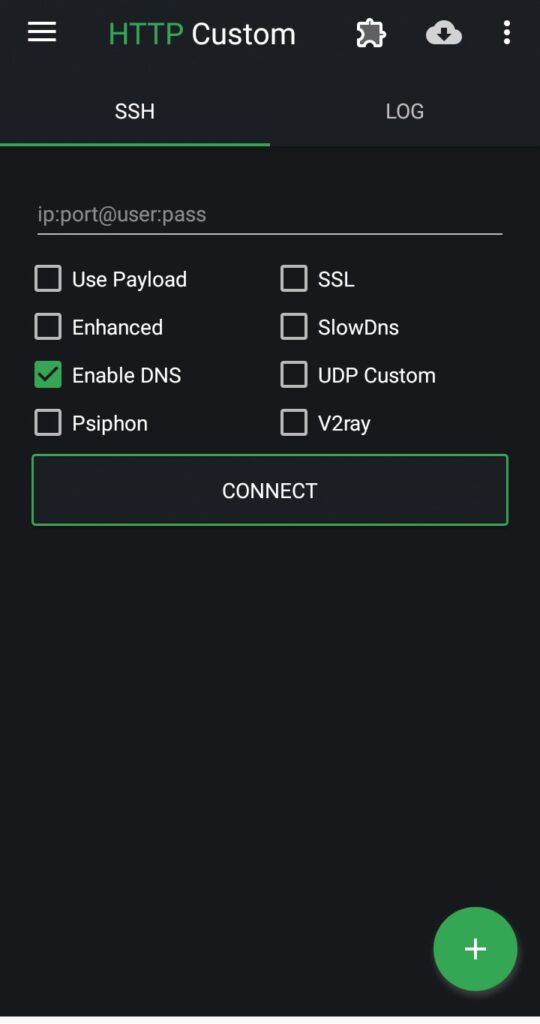
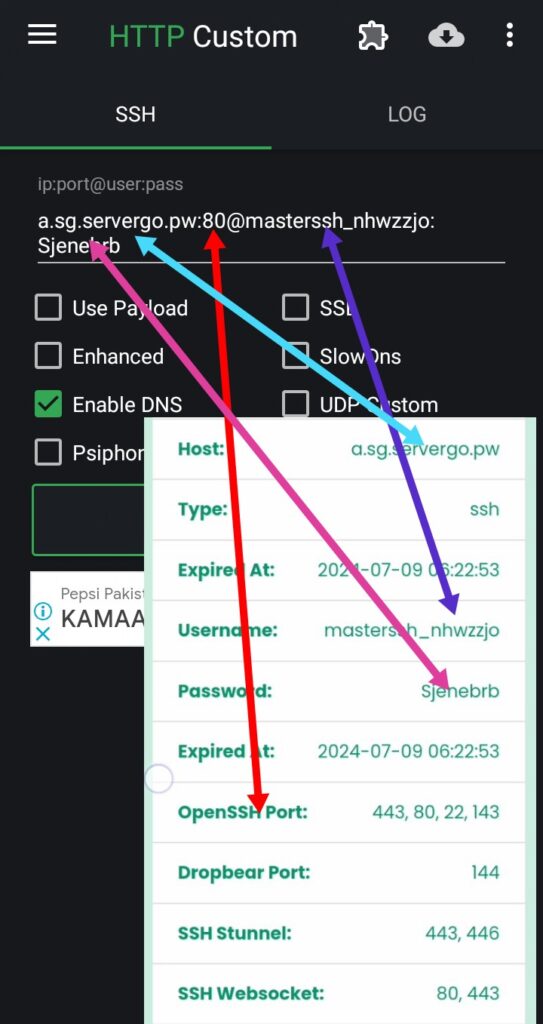
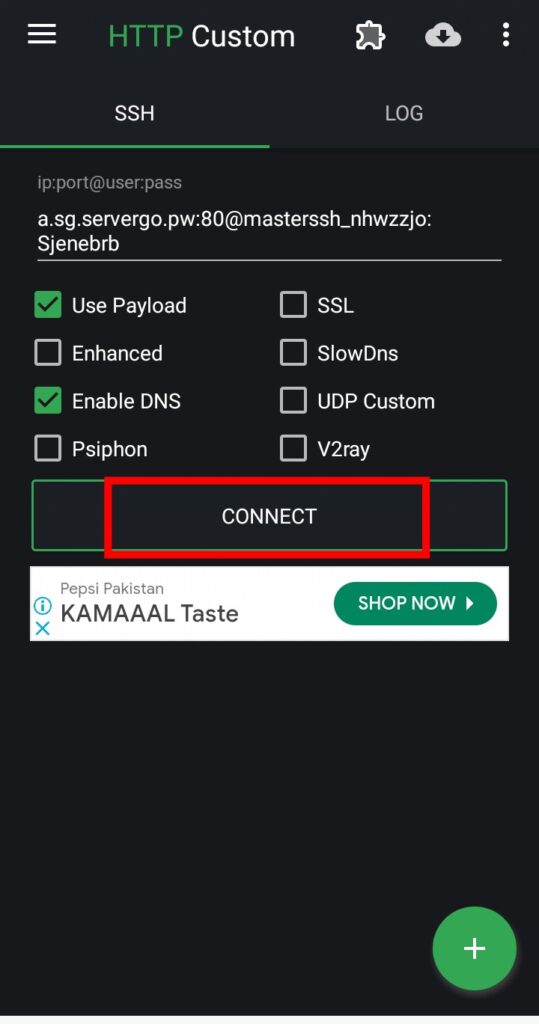
Step 3: Configure SSH Websocket Server
- On the home screen, locate the relevant field for SSH Websocket server settings.
- Enter the hostname or IP address of your SSH server.
- Input the port number, username, and password associated with your SSH server.
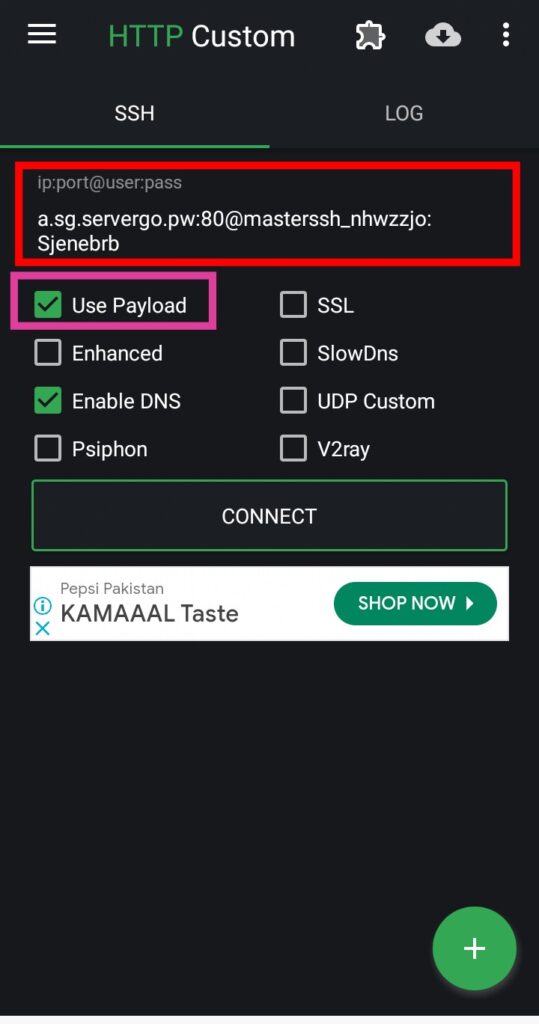
Step 4: Payload and Proxy Configuration (Optional)
- If you want to use a payload and proxy, check the corresponding box to configure them.
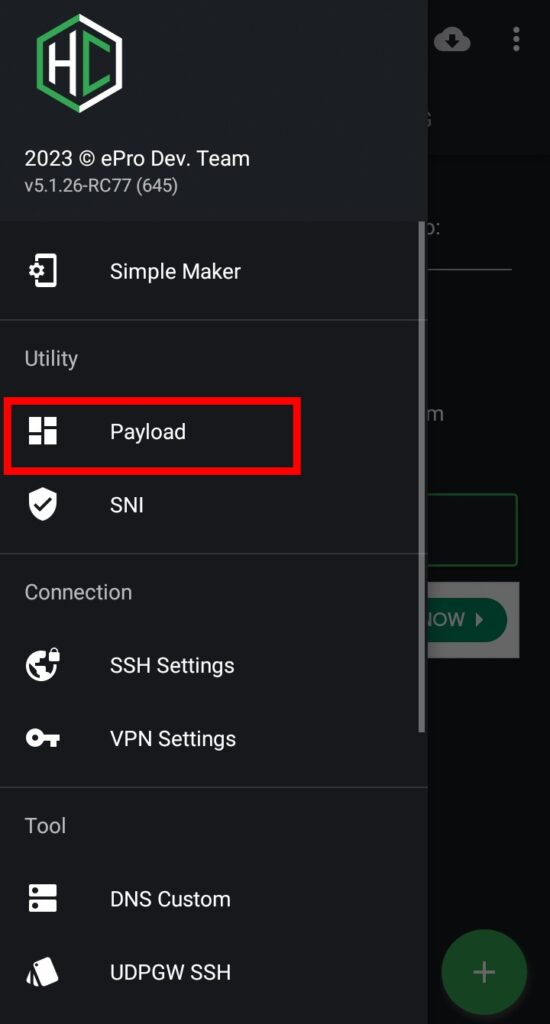
- Click on the hamburger icon to access the side menu.
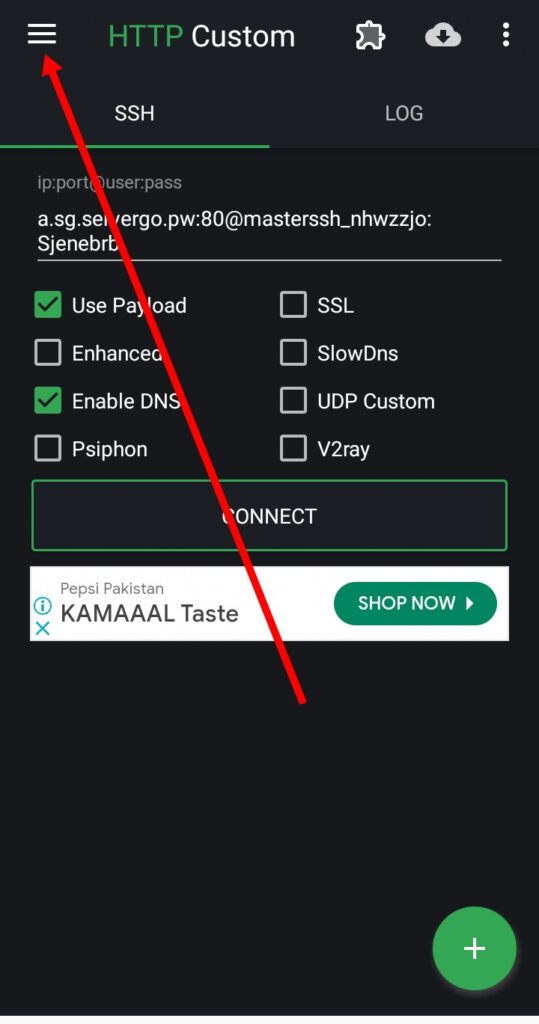
- From the side menu, select the “Payload” option to proceed.
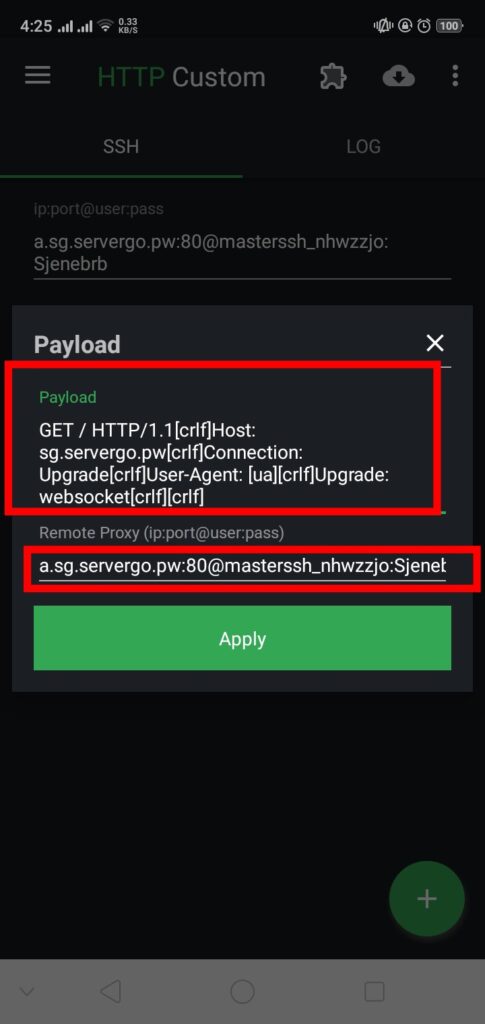
Step 5: Payload Configuration
- In the Payload pop-up box, enter the provided payload or create a custom one.
- You can use either the SSH Websocket host or another host as your bug host.
- Customize the payload according to your requirements.
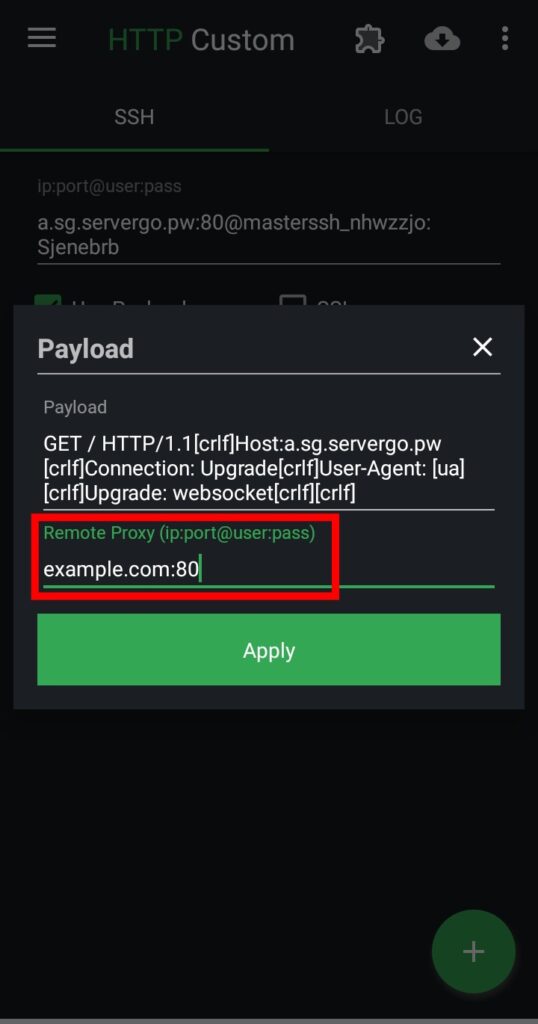
Step 6: Proxy Configuration (Optional)
- If you wish to use a proxy, you can configure it with the default payload.
- Enter the proxy settings, including the port number and optional username and password.
- Alternatively, you can use the SSH Websocket server as a proxy.
Step 7: Save Configuration
- Once you’ve configured the SSH Websocket server, payload, and proxy settings, click on the “Save” button.
- This will save your configuration and return you to the main screen of the app.
Step 8: Connect to VPN
- With all settings configured, you are now ready to connect to the VPN.
- Simply click on the “Connect” button to establish a secure connection using your SSH Websocket server.
Conclusion:
And that’s it! You’ve successfully created a 30-day SSH WebSocket server. Thank you for reading. Please like, share, and subscribe to my channel for more tutorials. If you have any questions or need further assistance, feel free to leave a comment below.
FAQs
1. What is an SSH Websocket server?
An SSH Websocket server allows secure communication between devices over the internet using the SSH protocol.
2. Why use HTTP Custom VPN?
HTTP Custom VPN is a versatile tool that allows users to customize their VPN settings, including SSH Websocket server configurations, for enhanced security and flexibility.
3. Can I use HTTP Custom VPN on other platforms besides Android?
At the moment, HTTP Custom VPN is only available for Android devices. However, similar VPN configurations can be set up on other platforms using alternative software.
4. Is it necessary to use a payload and proxy with HTTP Custom VPN?
No, using a payload and proxy with HTTP Custom VPN is optional. However, they can provide additional security and flexibility, depending on your specific requirements.
