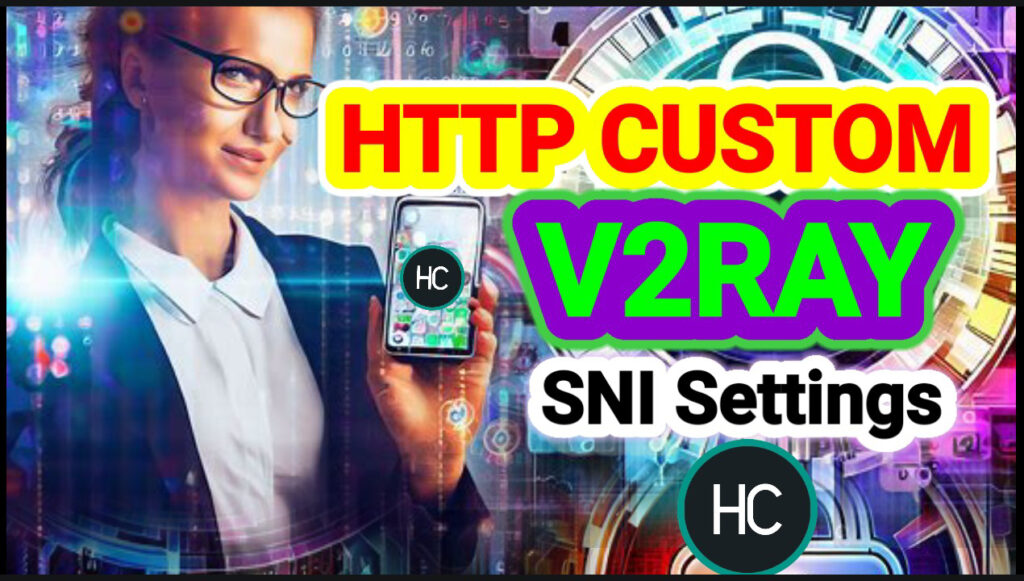
Welcome to the comprehensive guide on setting up v2ray SNI on HTTP Custom! Below you’ll find step-by-step instructions to configure your VPN connection for enhanced security and access to restricted content. If you’re new to v2ray VMESS or VLESS accounts, fret not; we’ve crafted this tutorial with simplicity in mind.
Let’s dive in and explore the seamless process of integrating v2ray SNI into HTTP Custom. But before we jump into the details, let’s take a quick look at what you can expect in this guide:
- Introduction
- How to Create or VLESS Account
- Step 1: Download and Install HTTP Custom
- Step 2: Enable v2ray Protocol
- Step 3: Access V2RAY SETTINGS
- Step 4: Paste Configured Settings
- Step 5: Edit Settings
- Step 6: Establish the VPN Connection
- Conclusion
Introduction:
In this tutorial, we will explore the process of setting up v2ray SNI on HTTP Custom, a popular app for configuring VPN connections. If you’re new to v2ray VMESS or VLESS accounts, make sure to check out our accompanying video tutorial for a step-by-step guide.
By following these instructions, you’ll be able to enhance your online privacy and access restricted content. So, let’s get started!
Step 1: Download and Install HTTP Custom
The first step is to head over to the Play Store and download the HTTP Custom app. Once the installation is complete, launch the app on your device.


Step 2: Enable v2ray Protocol
Within the app, locate the v2ray option and check the corresponding box to enable the v2ray protocol. This will ensure that your VPN connection is configured correctly.

Step 3: Access V2RAY SETTINGS
Click on the plugin icon within the app to access additional settings. From the list of options, select “V2RAY SETTINGS.” This will allow you to fine-tune the configuration for your v2ray connection.


Step 4: Paste Configured Settings
Now, click on the clipboard icon to paste the previously copied v2ray configuration into the app. This step ensures that the settings are properly applied to your VPN connection.

Step 5: Edit Settings
To customize the v2ray SNI (Server Name Indication), click on the angle brackets icon as shown in the app. If you have a different SNI, modify it accordingly. This will help you bypass certain restrictions and improve your browsing experience.


e.g www.facebook.com
Step 6: Establish the VPN Connection
Once you have made the necessary edits, navigate back to the main screen of the app. Finally, tap on the connect button to initiate the VPN connection with v2ray SNI. You are now ready to enjoy a secure and private browsing experience.

Conclusion:
By following these simple steps, you can set up v2ray SNI on HTTP Custom and benefit from enhanced online security and access to restricted content. We hope this article has been helpful in guiding you through the process. If you have any questions or need further assistance, feel free to reach out to us. Happy browsing!
Hashtags: #v2raySNI #HTTPCustom #VPNSetup #SecureBrowsing #OnlinePrivacy #RestrictedContent #VPNConfiguration

You are doing a great job
share my posts to support me
thanks , make sure to share blog and follow for future articles
😍😍
Persian please?
how can i help you
😍😍
Please how can one create the file to be pasted in step 4?
watch the video , embeded in the intro
I need how I can set and use my socksip tunnel please
or contact me
I need how I can set up and use socksip tunnel please
watch embed video